These pictures and notes are taken from a class I recently taught a Isabel O'Neils Studio in Manhattan.
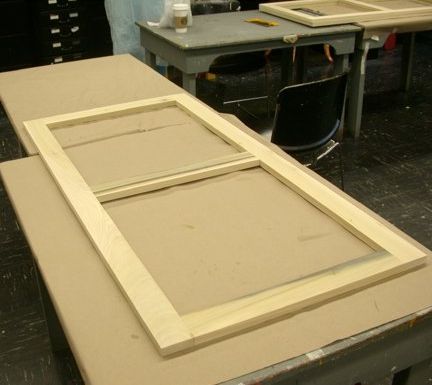
The goal was to construct a 2 panel Japanese screen from start to finish in 5 days. The wooden panel supports were built by a cabinet maker to my specifications, and he also made the stock from which we made the final frame around the edges of the screen.
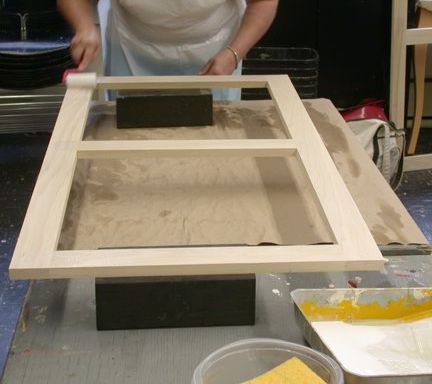
The panels are 23 and 1/2 inches wide and 48 inches tall. They are made of poplar, 1" x 3" s , the actual thickness is about 3/4 of an inch.
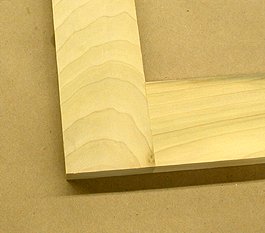 | 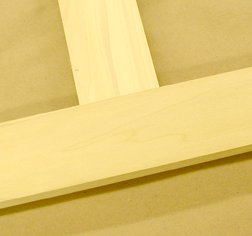 |
All he joints are mortise and tenions, the faces of the horizontal pieces are flush with the vertical pieces.
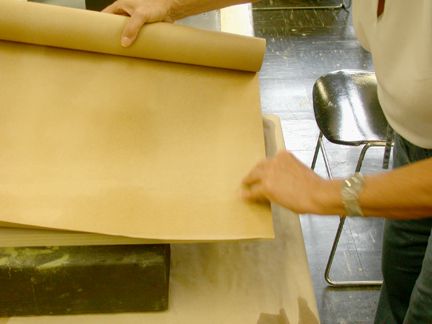
We cut pieces of 70 pound kraft paper from a roll and wet them out with lots of water on both sides. The pieces of kraft paper are about 6 inches longer than the panels. After wetting them thoroughly they are rolled up. There were 4 pieces of paper, one for each face of two panels.
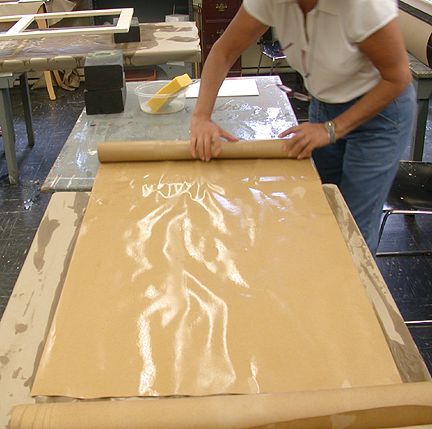
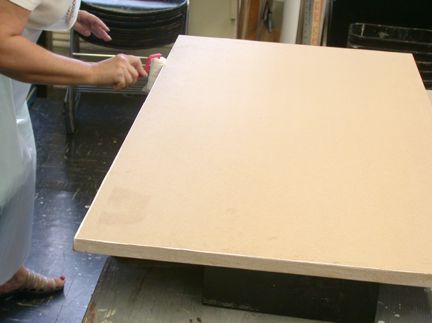
With the wet paper rolled up we set the panels on blocks on worktables and, with a roller, glued the top face of the panel including the center support bar.
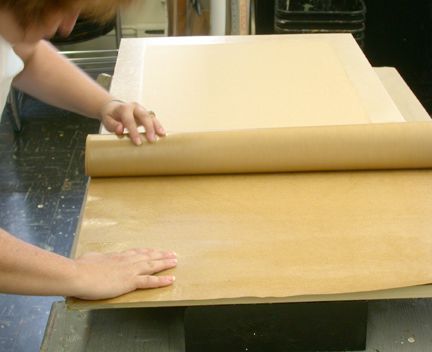
Once the panel was glued, we took the first piece of wet paper and began to carefully unroll it so that one edge of the paper was right on one edge of the panel. It is very important to match these edges, if you don't, when the paper dries it will warp the panel.
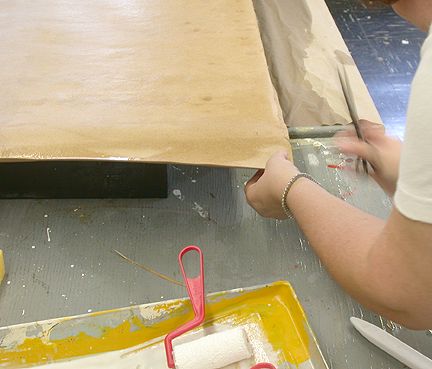
Once the paper has dried, the excess paper on the sides of the panel are trimmed. Then the second layer of paper can be glued to the panel.
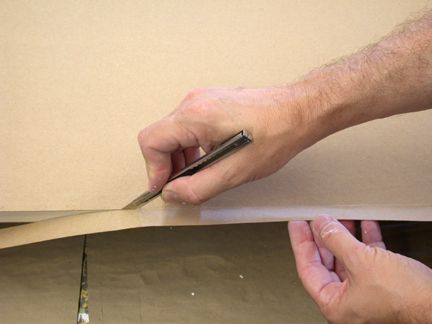
When the second layer of paper is glued onto the panel, glue is applied only to the outside edge of the panel face, the paper has already been wet on both sides and rolled up ready for application.
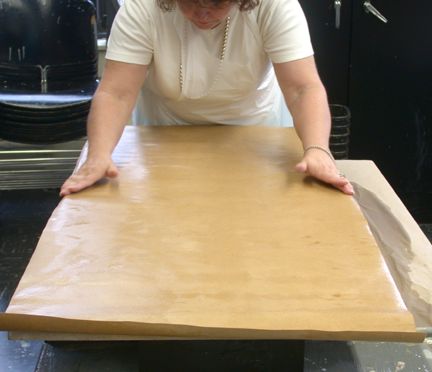
The second layer of paper should also be placed on the panel so that one edge of the paper is even with an edge of the panel.
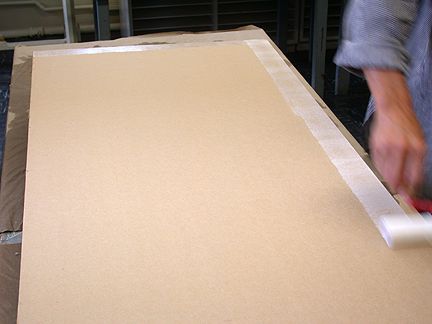
Once the second layer of paper has dried and the excess paper has been trimmed from the panel it is ready for the last layer of kraft paper. After the paper has been wet and rolled, the edges of the panel will be glued. As you apply the glue, tip the roller so that the top surface of the panel gets about 1/8th of an inch of glue on it.
 | 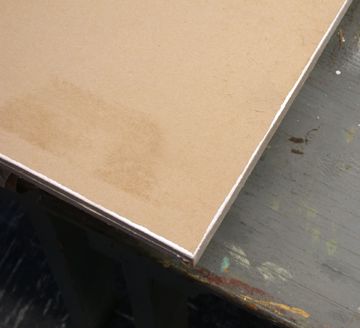 |
This time when the paper is laid on the panel, it should be centered from side to side so that 1/4 of an inch of paper hangs over each of the long sides. It is important to check both ends of the panel to make sure that an equal amount of paper is extending past the top edges of the panel on each side. Getting the paper on the panel crooked at this state will cause the panel to warp.
Firmly fold the edges of the paper over the edges of the panel and press them into the glue. When you get to the ends, trim the wet paper to a half inch from the panel's edge and rub them down onto the glued edge. At the corners you will have to cut the paper to the panel's corner so you can overlap and wrap the paper neatly around the corner.
The panels should be allowed to dry completely before we adhere the decorative surface.