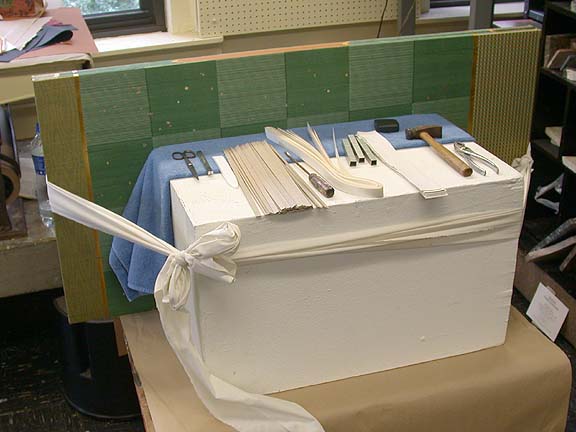
The panels have been put together as they will be used as a screen. They are tied to a padded box with pieces of torn sheet so that the panel edges which will be the center of the screen are on top.

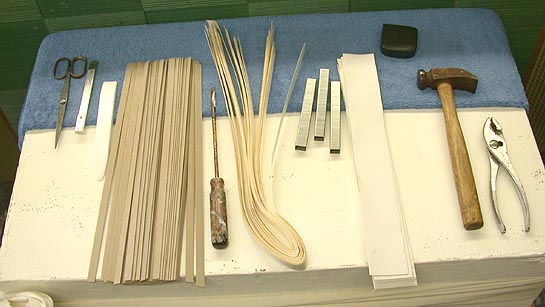
These are the tools and materials that will be needed to construct the hinge. The only things not in the picture are the staple gun and some glue. The little black box is a tape measure.
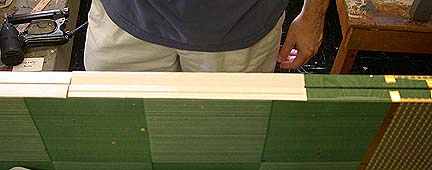
One hinge is completed on the left side of the picture. There will be 4 hinges when we are finished. We start the next hinge by laying a strip of prepared canvas on the panel edge and a strip of cardboard on top of that, stapelling it into place near the finished hinge.
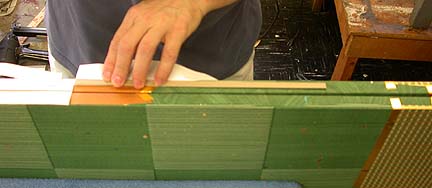
The pieces of cardboard and canvas are trimmed to one quarter of the panel's length.
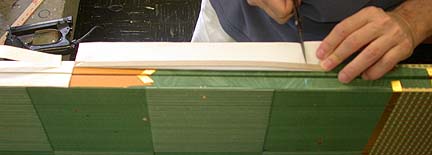
And a stapel is added to the other end.
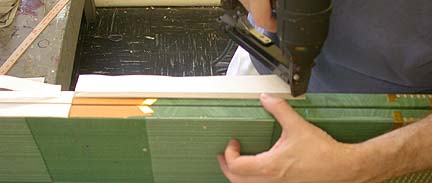
The center is tacked in place.
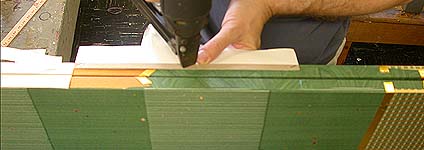
And then the whole hinge is stapelled with one stapel about every inch. the ends of the cardboard are stapelled twice, crossing the staples in an 'x'.
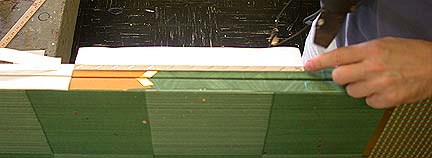
The staples are hammered solidly in place
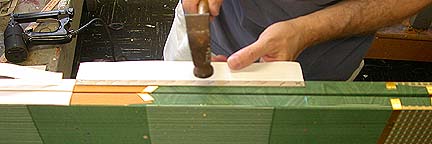
and then covered with a glued piece of thick rice paper.

A bone or teflon folder is used to rub the paper down tightly while the glue is wet.
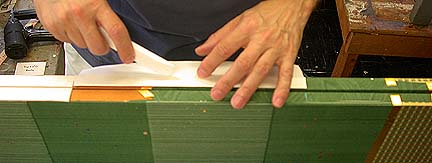
The point of the folder is used to set the paper into the groove between the cardboard and the panels surface.
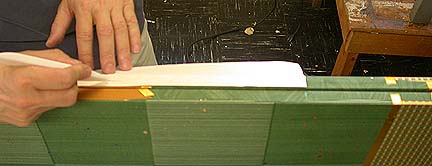
Next, the overhanging canvas is folded over the attached end of the hinge and we begin the stapelling operation again.
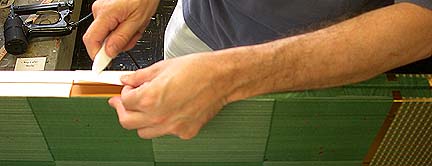
Place a strip of cardboard on the edge of the folded-over canvas and tack it at one end.
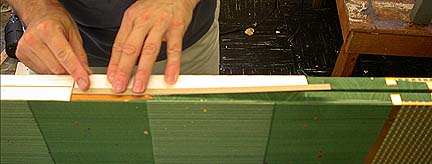
Trim the other end to match the canvas.
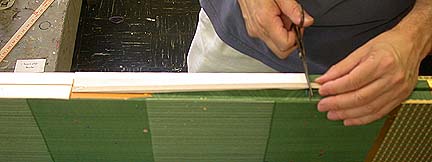
Finish tacking the cardboard down
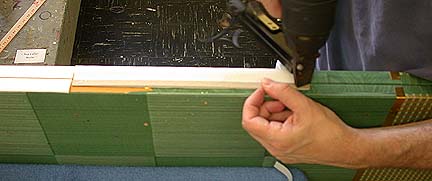
and staple the rest of the strip.
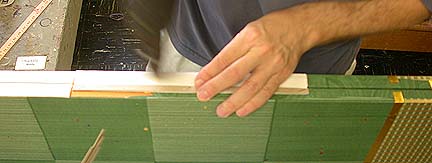
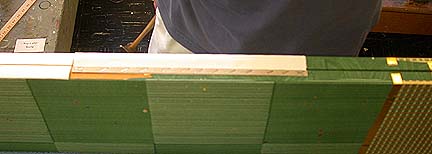
Cover the cardboard and staples with paper after hammering it into place
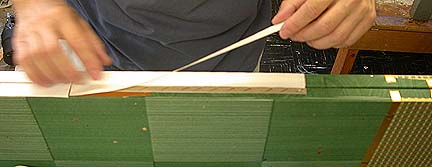
and rub the paper down with the folder.
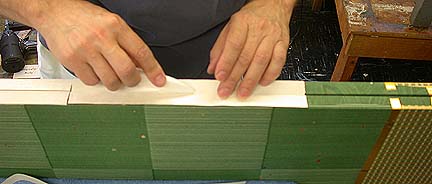
The hinge is now complete and ready for painting. This screen needs one more hinge to finish the edge. The next hinge will be from the opposite side so that the hinges balance each other and the screen panels will not simply fall away from each other.
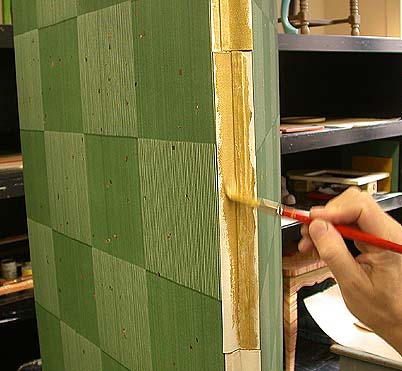
Paint one side, allow it to dry and then turn the screen inside out to paint the other side of the hinge.
